By Jeremy|2026-04-10T22:56:11+09:002026-04-09|Tags: Apitor, Drum Bot, Mission 66, Programming Lesson|
This lesson combines robotics, creativity, and programming:
- Build the Drum Bot using the Apitor kit and test it with different objects to explore what makes the best sounds.
- Modify the build to connect with Thymio and control the drumming action.
- Attach wires to interact with a touchscreen and trigger a digital drum pad.
- Advanced: Adjust timing and movement using VPL3 or Scratch to create different rhythms.
- Advanced: Extend the project by building your own digital drum pad in Scratch (Mission 67).
Solution Notes:
Drum Bot Lesson Key Concepts
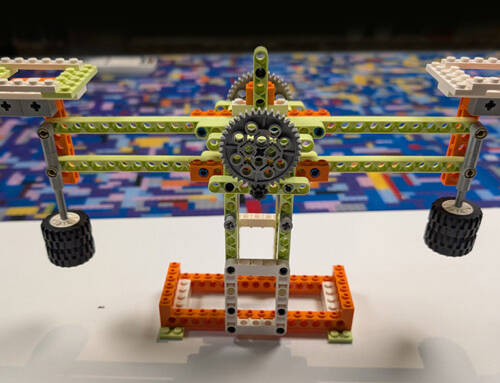
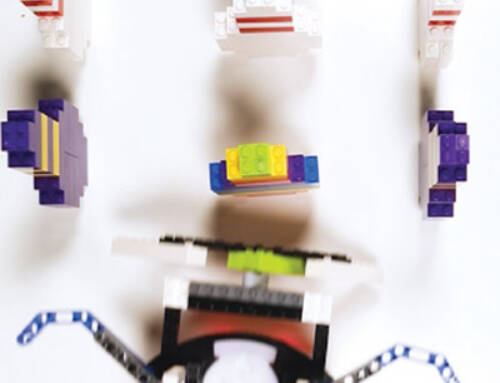
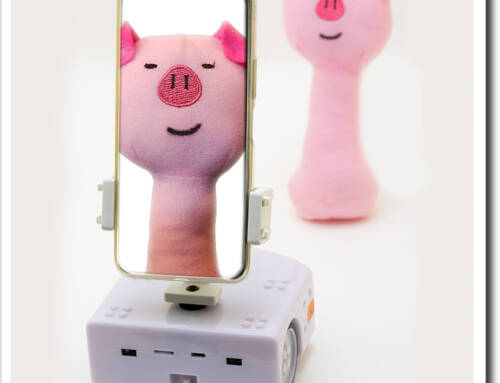
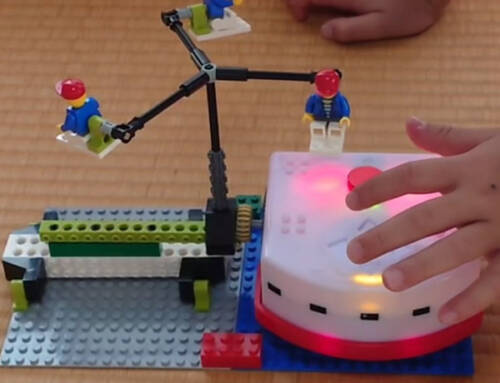
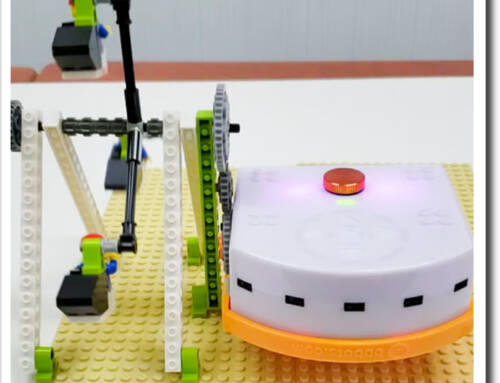
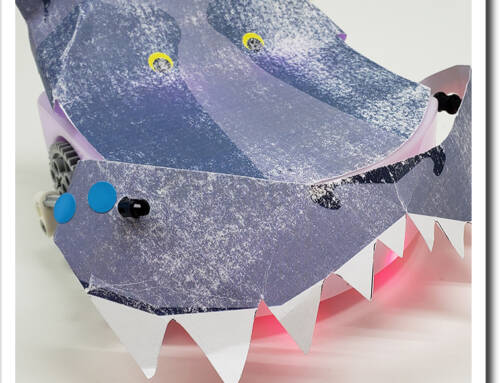
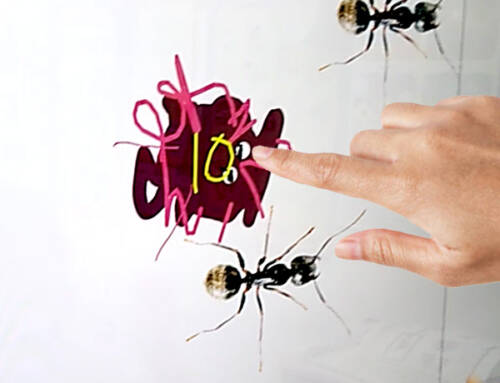
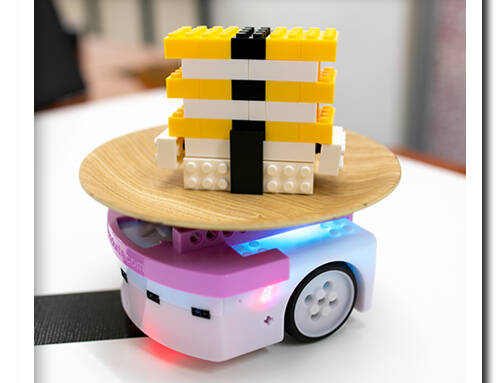
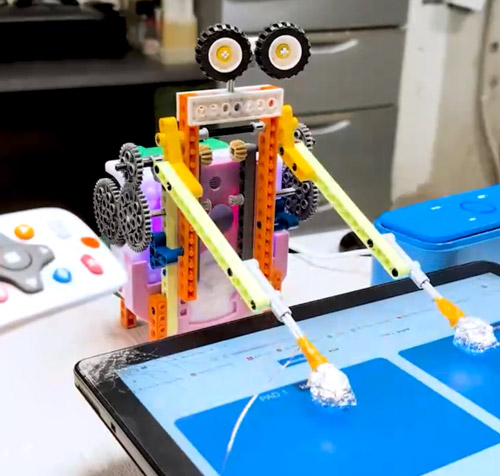
Build a Drum Bot and explore how robotics, sound, and programming come together in a fun, hands-on way! This lesson blends creativity, experimentation, and engineering using Apitor and Thymio:
- Build the Drum Bot using the Apitor kit and test different objects to discover what makes the best sounds.
- Modify the build to connect with Thymio and control the drumming motion.
- Use simple programming to trigger movement and create rhythmic patterns.
- Advanced: Connect wires to interact with a touchscreen and play a digital drum pad.
- Advanced: Extend the project by creating your own drum pad in Scratch (Mission 67).
Lesson Overview
In this lesson, students will:
- Build a Drum Bot using the Apitor Robot E kit.
- Experiment with different materials (cups, bells, tambourines, etc.) to explore sound and vibration.
- Modify the robot to work with Thymio and control its movement.
- Use wires to trigger a touchscreen and play sounds on a digital drum machine.
By the end of this lesson, students will understand how movement, materials, and programming can work together to create interactive sound projects.
Important Notes:
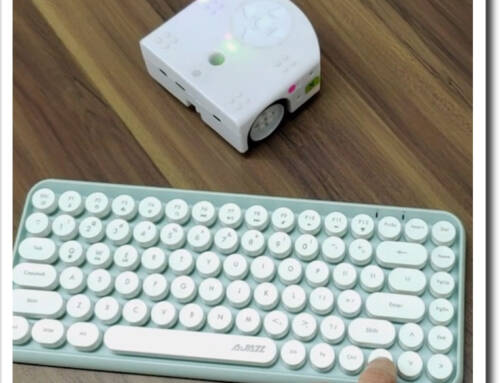
The Drum Bot uses physical contact to create sound, so placement and stability are important. When connecting to a touchscreen device, make sure the wires are positioned correctly so they can reliably trigger inputs. If using Scratch or VPL3, adjust timing and movement carefully to improve rhythm and consistency.
Tips for this Lesson:
- Test different objects to see how size, material, and shape affect the sound.
- Start with slower movements to better control timing and accuracy.
- Adjust the position of the drum arm so it hits objects cleanly.
- Make sure wires used for touchscreen interaction are secure and responsive.
Products/Materials
The following products and resources can be used in this lesson:
Thymio II Robot
Apitor Robot E Kit
LinkVest
Tablet or Smartphone
Household items (cups, bells, tambourines, etc.)
FUN FACT!
Did you know that robots can be used to create music? From automated drummers to robotic orchestras, engineers use robotics to explore new ways of making sound and performing music!
Download the Lesson PDF Files Below:
Check out the video tutorial/solutions below:
