This lesson combines robotics, creativity, and programming:
- Build bowling pins using LEGO or toy pins.
- Create a program in Scratch or VPL3 to knock down pins automatically.
- Use sensors or timers to control movement and improve accuracy.
- Advanced: Add LEGO attachments to increase power and reach.
- Advanced: Try to knock down more pins with a single program.
Solution Notes:
Thymio Bowling Lesson Key Concepts
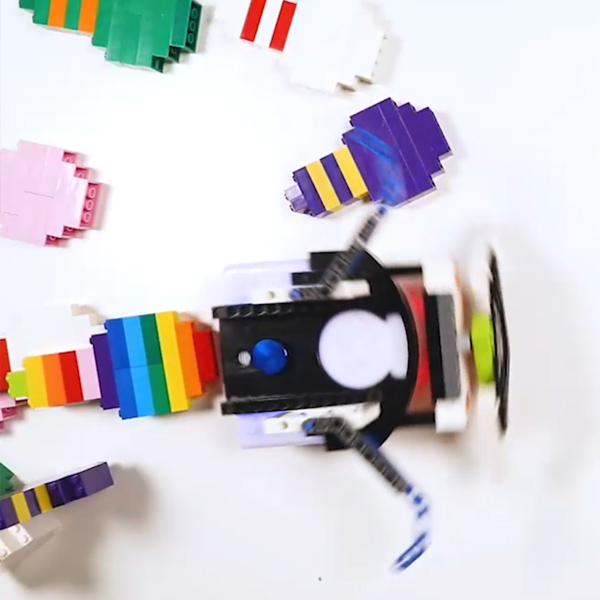
Turn Thymio into a bowling robot and explore how robotics, programming, and design work together! This lesson focuses on building, coding, and improving performance using Thymio and simple materials:
- Build bowling pins using LEGO or toy pins.
- Create a program in Scratch or VPL3 to knock down pins automatically.
- Test how timing, movement, and design affect performance.
- Advanced: Add LEGO attachments to improve reach and power.
- Advanced: Try to knock down more pins with a single program.
Lesson Overview
In this lesson, students will:
- Build a set of bowling pins.
- Create a program that moves Thymio to knock them down.
- Test and adjust timing, speed, and direction.
- Improve their robot or program to increase success.
By the end of this lesson, students will understand how programming and design affect movement and results.
Important Notes:
Do not use the remote control. The robot must run using a program only.
Tips for this Lesson:
- Start with a few pins before adding more.
- Test your program step by step.
- Adjust speed and timing for better accuracy.
- Try different attachments to improve performance.
Products/Materials
The following products and resources can be used in this lesson:
Thymio II Robot
LEGO
Scratch
VPL3
FUN FACT!
Did you know that many robots use pre-programmed movements to complete tasks automatically? Just like your bowling robot, they follow instructions to perform actions without human control!
Download the Lesson PDF Files Below:
Check out the video tutorial/solutions below: